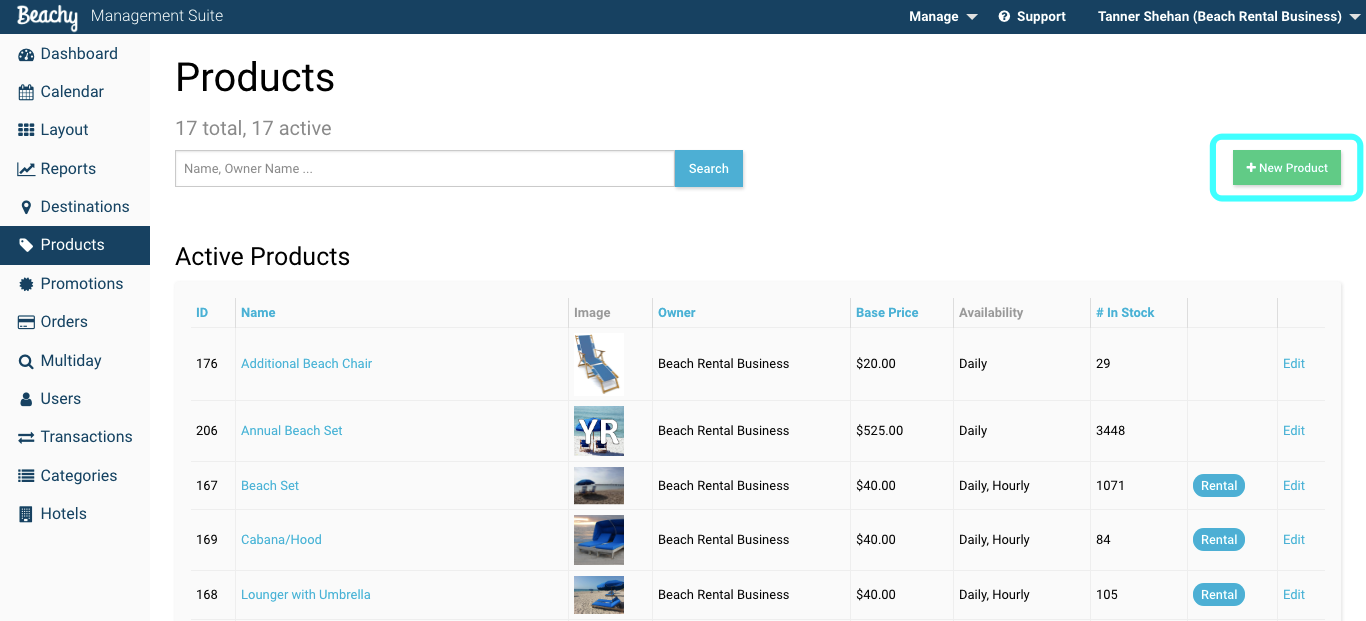
Setting up a new product to rent or sell can be accomplished in the Products tab in the management suite. To get started:
1) Select +New Product button
2) Choose from one of the preset categories, name your product, give an optional subtitle, and place a description to appear with the product on your web front
3) Save Basics to move to image selection

4) Choose an image to show with your product online and in the attendant app
Note: Images must be under 1MB in size and 9x6 ratio appear best
5) Once your image has been selected, Save Image

6) You will now set a base price for your product. The price entered will be the item subtotal.
Taxes added to your product will be determined by the destination that your
product is added.
7) Select whether your product will automatically include a tip and Save Pricing.

8) The Type of product plays a major role in how it will be used on the platform. If your product is a rental then toggle 'Yes' on question 1. Assigning your product as a rental allows for the product to take reservations. If the product is a non-rental, it can be sold in the app or online without designating dates.

9) Setting up contract options is only useful when you want to track a guest or member's usage of the product. The most common are seasonal, yearly, or non-consecutive daily rentals. If your product is contracted and sold to a guest, the guest's name is uploaded to a searchable list in the app. To learn how to set up a contracted product, see How to Create a Multiuse Product.

10) Whether or not your product will track inventory will depend on if it is a rental or non-rental. If the product is a rental, you are required to mark 'Yes' on inventory tracking. If it is a non-rental, then inventory tracking is not mandatory. You also have the option to be notified when your stock is low.

11) On the last step of product setup, Beachy allows for your product to attach a waiver to the customer's receipt and allow a maximum capacity. (Maximum capacity is most commonly used for boat rentals)
Smartwaiver account is required to set up a waiver.  To learn how to integrate
your waivers into a product, see How to Integrate Your Smartwaiver Account

Comments
0 comments
Please sign in to leave a comment.